
How to Soften Grout for Removal: A Beginner’s Guide
Do you have a tiled floor that needs repair? Are you trying to re-grout your bathroom or kitchen, but are having difficulty with removing the old grout? If so, then you’re not alone!
Removing rigid and stubborn grout can be an incredibly challenging task. But don’t worry! With the right knowledge and supplies, anyone can learn how to soften grout for removal and tackle even the toughest home improvement jobs.
In this blog post, we’ll provide all the tips and tricks for beginners to successfully remove old, hardened grout from their floors or walls! Keep reading to learn how to get started!
Tools and Materials You’ll Need
Before we delve into the process, it’s crucial to gather all the necessary tools and materials. First, you’ll need a grout removal tool, which can be manual. You can also use an oscillating tool with a grout removal blade or a rotary tool with a grout removal attachment.
Second, you’ll need a spray bottle filled with water, vinegar, or a commercial grout softener. This will help to soften the grout for easy removal. Safety gear, such as gloves and glasses, is also necessary to protect yourself.
Last, a vacuum cleaner or a broom and dustpan will be essential for cleaning up the grout dust after removal. Having all these items before you start will make the process smooth and efficient.
How to Soften Grout for Removal
Now that you have all your tools and materials ready, it’s time to jump into the fun part – softening the grout! Start by spraying a generous amount of water, vinegar, or grout softener onto the lines. Make sure to cover each line thoroughly without oversaturating the area.
Next, let the solution sit for 5-10 minutes to allow it to penetrate and soften the grout. During this waiting period, you can start working on another area or take a quick break.
The key here is patience. Letting the solution work its magic will make the grout removal process much more manageable.
Removal Time
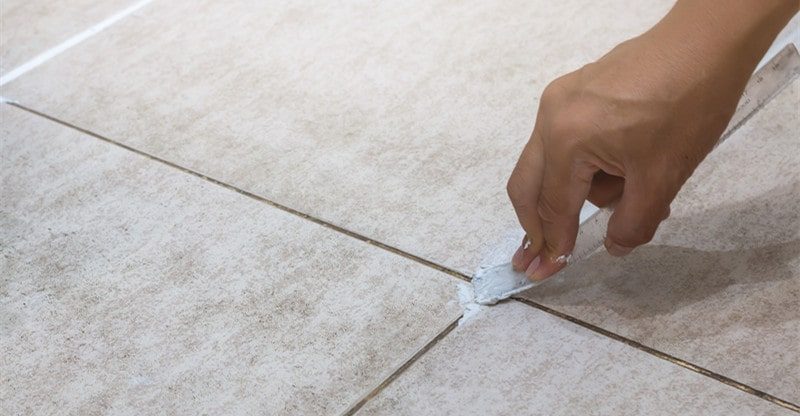
After patiently waiting, grab your grout removal tool of choice. Start gently scraping away at the softened grout. Be careful not to apply too much pressure to avoid damaging the tiles or the surrounding areas.
If using a manual tool, follow the natural grout lines and work in small sections to prevent fatigue. With an oscillating or rotary tool, go slow. Be steady while keeping the blade at a 45-degree angle for best results.
As you remove the grout, use your vacuum cleaner or broom and dustpan to clean up the dust regularly. This will not only help you see where you need to continue removing grout. It also prevents any excess dust from spreading around the room.
Final Touches
Once all the grout has been removed, it’s time to do tile and grout cleaning. Use a damp cloth or sponge to wipe away any remaining grout residue and clean the tiles. For tougher spots, you can use a small brush with some water or vinegar to scrub the area gently.
After cleaning, let the tiles dry completely before sealing the grout lines again. This step is essential to prevent any future damage or staining.
Celebrate Your Grout-Free Greatness
And that’s it! You’ve successfully learned how to soften grout for removal. Now, it’s time to put your newly acquired skills to the test.
Remember, practice makes perfect. Time, effort, and money are minimal with these systems. Choose the grout removal procedure that works well on your end.
For more informative and easy-to-follow DIY guides, don’t hesitate to visit our website. Your next DIY project awaits you!
Sarah Guerrero
A self-taught artist, Sarah loves anything that has a unique aesthetic appeal and everything from her home to her work desk carries a stamp of personal taste. When she’s not busy at her desk job, she loves to pen her thoughts down and often engages in creating mood boards inspired by nature, fashion, culture, and art.